Welcome to the Best LECA Starter Kit for Beginners for all things LECA!
Whether you’re a seasoned plant parent or a newbie looking to switch to semi-hydroponics, this article is your one-stop-guide for setting up, transitioning, and maintaining your plants in LECA.
From choosing the right pots to mastering the art of nutrient feeding, we’ve got you covered.
LECA Starter Kit
Self-Watering Planter
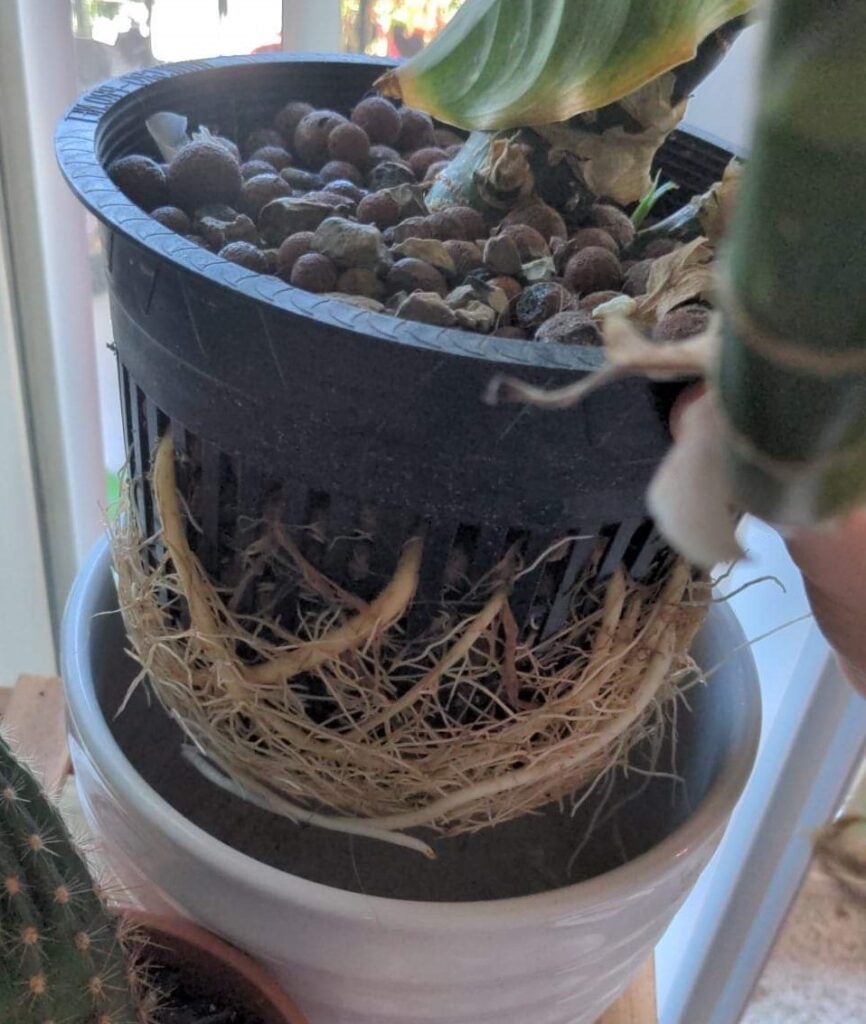
Meet your new best friend: the self-watering pot. It features a sleek black inner container, a chic white outer shell, and a wick for good measure. The wick helps pull nutrient-rich water from the reservoir, delivering it straight to your LECA.
This planter, along with the Deli Pot, introduces you to the two most common methods of plant care in semi-hydroponics.
Deli Pot
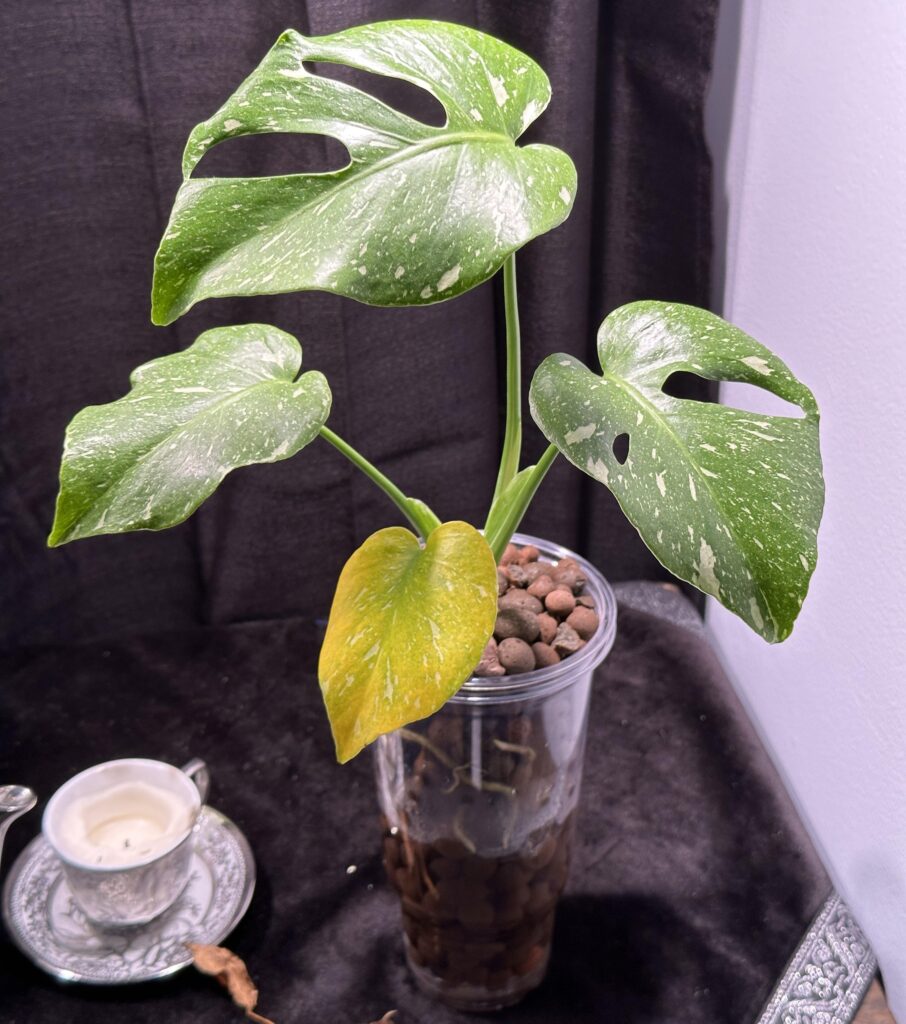
The Deli Pot is your plant’s temporary home and comes with a drainage line located about a third of the way up from the bottom.
This design is pretty standard in the world of semi-hydroponics.
What’s cool about this pot is its see-through sides, letting you keep tabs on your plant’s roots as they get used to their new LECA environment.
Nutrients
The kit includes four vials of concentrated solutions that you’ll need to dilute with water. Here’s what you get:
- Kelpmax Liquid Seaweed
- General Hydroponics FloraMicro
- General Hydroponics FloraGro
- General Hydroponics FloraBloom
How to Use LECA Starter Kit: A Step-by-Step Guide
Prepping Your LECA
Before diving in, it’s crucial to clean and soak your LECA. Wondering why? Find out more here.
1: Wash the LECA: Fill your deli pot with water over the sink. Use the lid to help drain it. Keep doing this until the water runs clear.
To avoid clogging your drain with clay dust, you can collect the water and pour it outside.
2: Soak the LECA: Fill the deli pot with water again and let the LECA sit for two days. If you can, change the water halfway through. The aim is to remove any impurities from the LECA.
3: Ready, Set, Go: Once the LECA has soaked, drain the water. Your LECA is now ready for action!
Switching Your Plant to LECA
Picking the right plant is key. Learn more about semi-hdyro transitioning here.
Start with something like a Monstera, Syngonium, or a non-trailing Philodendron.
Avoid Pothos, Peperomia, and Hoyas for your first go.
4: Soil Be Gone: Take your plant out of its current pot and shake off as much soil as you can. Use a kitchen sprayer to clean the roots. A toothbrush can also help. If your LECA is still soaking, place your plant in a jar of water to help remove any remaining soil.
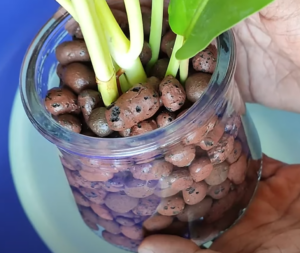
5: LECA in the Deli Pot: Fill the deli pot with LECA, going slightly above the black water line marker. Drilling holes in glass containers isn’t needed and can be risky. Just use your eyes to gauge the water level.
6: Plant Positioning: Place your plant in the deli pot, making sure it sits above the black line marker. Spread the roots so they don’t touch each other. Use a chopstick to pack the LECA well. Fill the pot to the top.
7: Watering Time: Fill the white outer pot with about half a cup of tap water. Add two squirts of the light brown rooting solution. Mix well and pour it into the deli pot up to the drainage hole. Any leftover solution can be saved or discarded.
The Rooting Phase
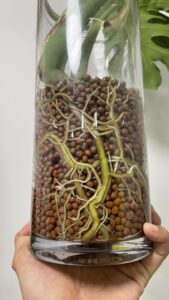
Once your plant is all set up in its new LECA home, it’s time to focus on root development. Use the rooting solution and keep a watchful eye on how the roots are doing.
8: Ideal Location: Place your plant in a well-lit spot and let it be for two weeks. Steer clear of chilly or drafty areas.
The goal is to help the roots get used to LECA, and warmth and humidity are your allies here. If you have a seed-starting mat or a humidifier, that’s a bonus. If not, no worries—just aim to keep the environment as warm and humid as possible.
9: Two-Week Check-In: After the initial two weeks, take a look at the roots through the clear sides of the pot. You should notice some new, slightly fuzzy root growth.
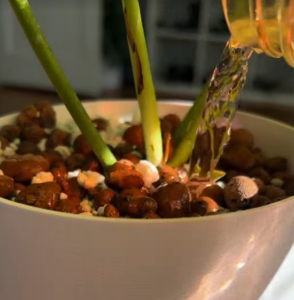
You’ll also see that the water level in the pot has gone down. To refresh the water, hold the pot over the sink, cover the top with your hand to keep the LECA in place, and fill it with water.
Tilt the pot to drain the water, repeating this for about 30 seconds to a minute.
Drain all the water completely and refill the pot with fresh rooting solution.
10: Rinse and Repeat: Keep up with this two-week cycle until you see strong, well-developed LECA roots.
If some roots have grown long enough to reach the water reservoir at the bottom, that’s a good sign! Feel free to let those roots stay submerged; they’ve adapted to that environment.
Feeding and Caring for Your LECA-Grown Plant
Time for Nutrients
With strong roots in place, your plant is ready for its nutrient boost.
11: Switching Pots: If you’re after a more polished look, now’s the time to move your plant from the clear deli pot to the self-watering one.
Take your plant out and snip off any rotten roots with clean, sterilized trimmers.
If there’s any lingering soil, a quick spray from the kitchen faucet should do the trick.
12: Inner Pot Setup: Make sure the wick is properly positioned in the black inner pot. Place your plant in this pot and fill it with LECA, just like you did in the deli pot.
No need for a LECA layer at the bottom; your water reservoir is below the inner pot.
13: Nutrient Mix: Fill the white outer pot to the marked level with water.
Add 4-8 drops each nutrients we mentioned above. Use 4 drops for plants that don’t need much feeding and 8 for those that do. Stir well after each addition. You can keep using the light brown rooting solution for ongoing root growth.
14: Final Step: Place the inner pot into the outer one, and you’re all set!
Keeping Things Fresh
If you notice a white, powdery substance on your LECA, it’s time for a flush.
15: Flushing: Run tap water through the black inner pot for about 30 seconds to a minute. Empty the nutrient water from the reservoir and go back to step 13.
Keep an eye out for any issues like pests or signs of plant stress.
16: Next Steps: Ready for more? Grab some more LECA and start the process with a new plant.
Happy planting!

